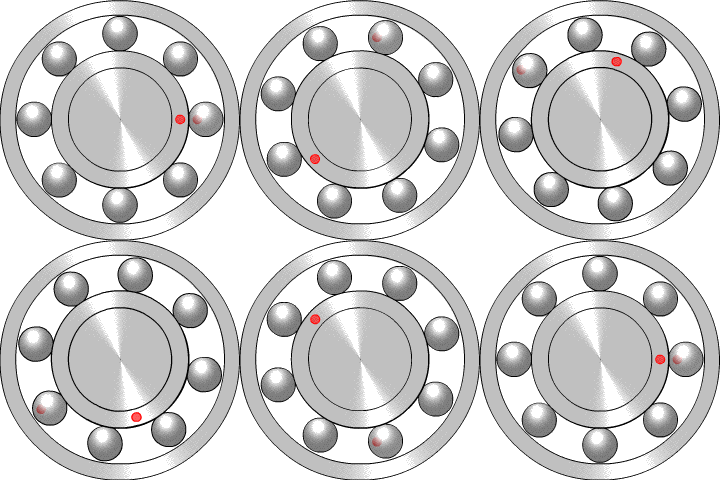
A ball bearing is a type of rolling-element bearing that uses balls to maintain the separation between the bearing races.

Engineering tolerance is the permissible limit or limits of variation in:
- a physical dimension;
- a measured value or physical property of a material, manufactured object, system, or service;
- other measured values ;
- in engineering and safety, a physical distance or space (tolerance), as in a truck (lorry), train or boat under a bridge as well as a train in a tunnel ;
- in mechanical engineering, the space between a bolt and a nut or a hole, etc.
The Unified Thread Standard (UTS) defines a standard thread form and series—along with allowances, tolerances, and designations—for screw threads commonly used in the United States and Canada. It is the main standard for bolts, nuts, and a wide variety of other threaded fasteners used in these countries. It has the same 60° profile as the ISO metric screw thread, but the characteristic dimensions of each UTS thread were chosen as an inch fraction rather than a millimeter value. The UTS is currently controlled by ASME/ANSI in the United States.
A reamer is a type of rotary cutting tool used in metalworking. Precision reamers are designed to enlarge the size of a previously formed hole by a small amount but with a high degree of accuracy to leave smooth sides. There are also non-precision reamers which are used for more basic enlargement of holes or for removing burrs. The process of enlarging the hole is called reaming. There are many different types of reamer and they may be designed for use as a hand tool or in a machine tool, such as a milling machine or drill press.

A grinding machine, often shortened to grinder, is any of various power tools or machine tools used for grinding. It is a type of material removal using an abrasive wheel as the cutting tool. Each grain of abrasive on the wheel's surface cuts a small chip from the workpiece via shear deformation.

A screw thread is a helical structure used to convert between rotational and linear movement or force. A screw thread is a ridge wrapped around a cylinder or cone in the form of a helix, with the former being called a straight thread and the latter called a tapered thread. A screw thread is the essential feature of the screw as a simple machine and also as a threaded fastener.

A go/no-go gauge refers to an inspection tool used to check a workpiece against its allowed tolerances via a go/no-go test. Its name is derived from two tests: the check involves the workpiece having to pass one test (go) and fail the other (no-go).
An interference fit, also known as a pressed fit or friction fit, is a form of fastening between two tightfitting mating parts that produces a joint which is held together by friction after the parts are pushed together.

In machining, boring is the process of enlarging a hole that has already been drilled by means of a single-point cutting tool, such as in boring a gun barrel or an engine cylinder. Boring is used to achieve greater accuracy of the diameter of a hole, and can be used to cut a tapered hole. Boring can be viewed as the internal-diameter counterpart to turning, which cuts external diameters.

Trapezoidal thread forms are screw thread profiles with trapezoidal outlines. They are the most common forms used for leadscrews. They offer high strength and ease of manufacture. They are typically found where large loads are required, as in a vise or the leadscrew of a lathe. Standardized variations include multiple-start threads, left-hand threads, and self-centering threads.
Nominal Pipe Size (NPS) is a North American set of standard sizes for pipes used for high or low pressures and temperatures. "Nominal" refers to pipe in non-specific terms and identifies the diameter of the hole with a non-dimensional number. Specific pipe is identified by pipe diameter and another non-dimensional number for wall thickness referred to as the Schedule. NPS is often incorrectly called National Pipe Size, due to confusion with the American standard for pipe threads, "national pipe straight", which also abbreviates as "NPS". The European and international designation equivalent to NPS is DN, in which sizes are measured in millimetres, see ISO 6708. The term NB is also frequently used interchangeably with DN.
Roundness is the measure of how closely the shape of an object approaches that of a mathematically perfect circle. Roundness applies in two dimensions, such as the cross sectional circles along a cylindrical object such as a shaft or a cylindrical roller for a bearing. In geometric dimensioning and tolerancing, control of a cylinder can also include its fidelity to the longitudinal axis, yielding cylindricity. The analogue of roundness in three dimensions is sphericity.
Note: in this context, IT does not mean Information Technology, but it is an Engineering term.
When two probability distributions overlap, statistical interference exists. Knowledge of the distributions can be used to determine the likelihood that one parameter exceeds another, and by how much.
Engineering fits are generally used as part of geometric dimensioning and tolerancing when a part or assembly is designed. In engineering terms, the "fit" is the clearance between two mating parts, and the size of this clearance determines whether the parts can, at one end of the spectrum, move or rotate independently from each other or, at the other end, are temporarily or permanently joined. Engineering fits are generally described as a "shaft and hole" pairing, but are not necessarily limited to just round components. ISO is the internationally accepted standard for defining engineering fits, but ANSI is often still used in North America.

Honing is an abrasive machining process that produces a precision surface on a metal workpiece by scrubbing an abrasive grinding stone or grinding wheel against it along a controlled path. Honing is primarily used to improve the geometric form of a surface, but can also improve the surface finish.
The distinction between real value and nominal value occurs in many fields. From a philosophical viewpoint, nominal value represents an accepted condition, which is a goal or an approximation, as opposed to the real value, which is always present.

Bearing balls are special highly spherical and smooth balls, most commonly used in ball bearings, but also used as components in things like freewheel mechanisms. The balls themselves are commonly referred to as ball bearings. This is an example of a synecdoche. The balls come in many different grades. These grades are defined by bodies such as the American Bearing Manufacturers Association (ABMA), a body which sets standards for the precision of bearing balls. They are manufactured in machines designed specially for the job.
Rule based DFM analysis for forging is the controlled deformation of metal into a specific shape by compressive forces. The forging process goes back to 8000 B.C. and evolved from the manual art of simple blacksmithing. Then as now, a series of compressive hammer blows performs the shaping or forging of the part. Modern forging uses machine driven impact hammers or presses that deforms the work-piece by controlled pressure.
Geometrical Product Specification and Verification (GPS&V) is a set of ISO standards developed by ISO Technical Committee 213. The aim of those standards is to develop a common language to specify macro geometry and micro-geometry of products or parts of products so that the language can be used consistently worldwide.


